

UNDERWORLD NOTE
A clear starting plan.
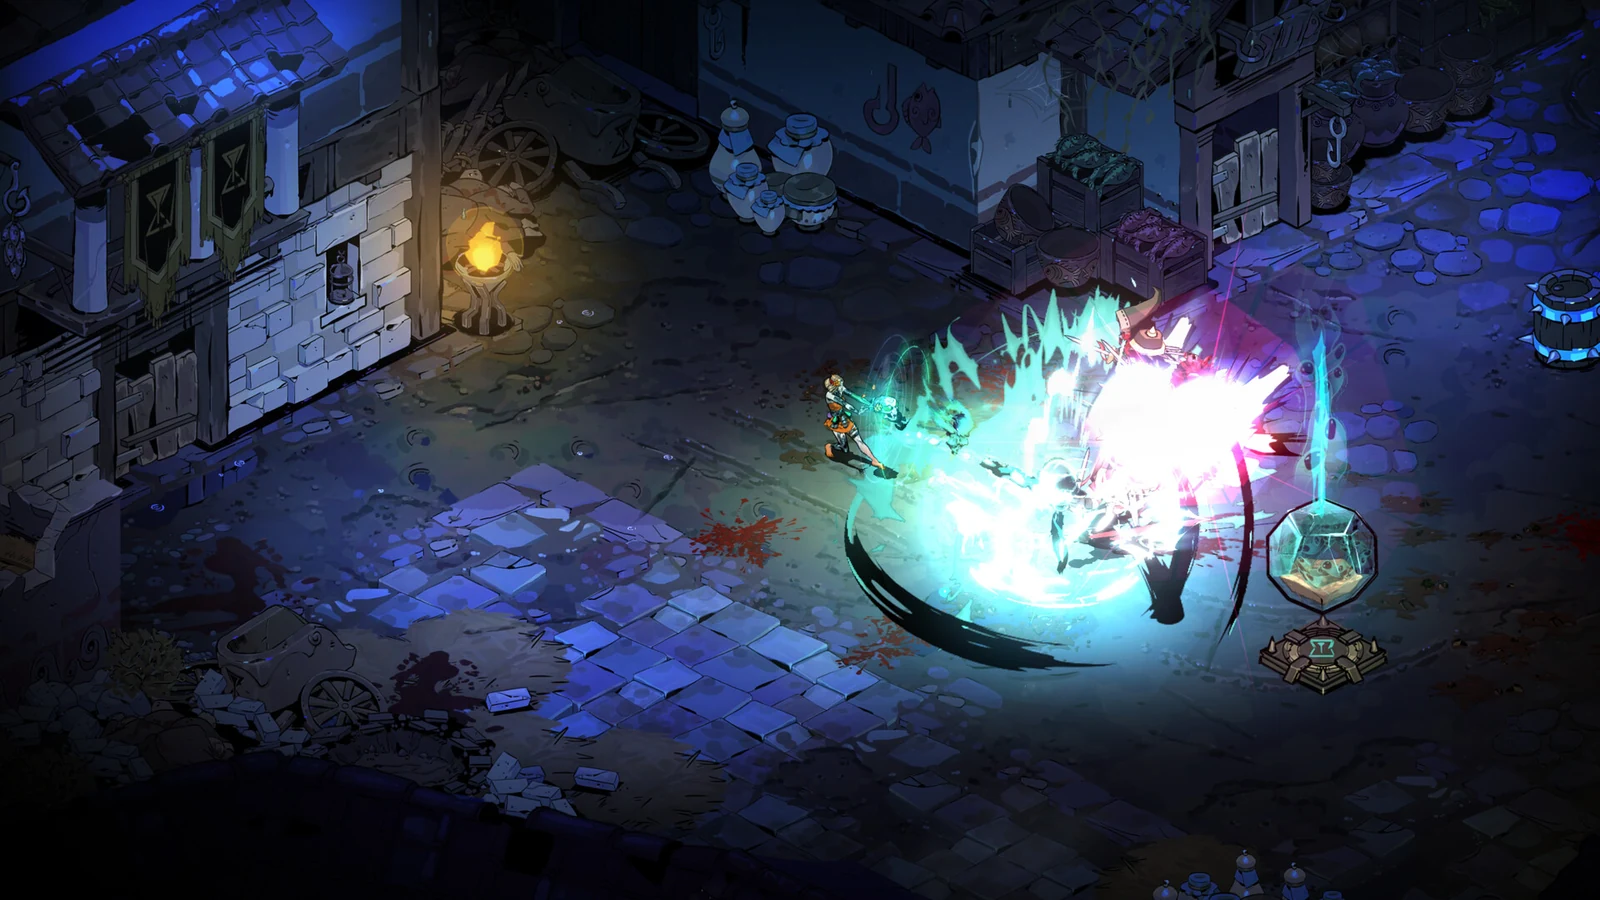
The Skull makes ammunition positioning part of combat. A good shot is only half a plan: you also need a safe way to recover the Shells. Choose it when you enjoy mapping a short route through the room rather than keeping one position forever.
The default aspect uses retrievable Shells. Medea stores the Attack close to you and detonates it through Special; Hel replaces the ordinary ammunition rhythm with an alternate firing state. Start with the version you actually equipped, because the safe route is different for each.
This is a practical first-clear route. If you already know another aspect’s timing, use the aspect notes below to adapt the sequence.
UNDERWORLD NOTE
A sequence you can repeat.
- 01
Aim for recoverable ground
Choose a target whose Shell landing area you can reach without crossing every threat. A remote corner is not free damage if it strands your ammunition.
- 02
Fire with a route in mind
Use enough Attacks to create pressure, then move as the target commits. Keep track of where the Shells land instead of looking only at its Life bar.
- 03
Clear the return
Cast a pursuer or wait out the next attack. Special can reposition you through the pickup route, but normal Special is not an unrestricted invulnerability button.
- 04
Rebuild distance
Once you recover the ammunition, move to a new line. On Medea, use the stored-Attack/Special loop rather than expecting thrown-Shell behaviour.
UNDERWORLD NOTE
Give each Boon a job.
The choices below are starting directions and fallbacks. They are not a guarantee that a random run offers every piece. Read the actual range, trigger and Magick condition before taking a named choice.
A percentage-based Attack Boon
This supports a deliberate explosive hit. Compare it with the aspect and Hammer text before committing to an all-Shells-at-once variation.
A useful curse or secondary damage effect
The retrieval route can also apply a setup effect. Do not spend a whole run levelling a Special you use only for occasional movement.
A Cast and recovery choice that preserve retrieval
Survival value is practical here: a safe pickup lane lets your weapon keep functioning. Repeatedly walking into hazards to collect Shells is an execution problem first.
UNDERWORLD NOTE
Choose the action, then the Hammer.
A Hammer can change which action deserves your next upgrade. Check the equipped aspect, eligible moves and added costs rather than treating three suggestions as a guaranteed package.
Fetching Array
Changes recovery by bringing Shells back. This can reduce a frustrating part of the weapon, but read compatibility with other Shell Hammers.
Looming Ignition
A direction for deliberate explosive Attack damage. Check whether your new aiming delay still fits the openings you are taking.
Wide Grin
A different all-at-once firing pattern. Its interaction with Melinoë’s waiting-Shell bonus is not a simple multiplication of every passive.
UNDERWORLD NOTE
Four ways to play this weapon.
Melinoë
A thrown-Shell economy with Attack Power tied to spent Shells.
Practise safe recovery and make deliberate explosive hits. Aim where you can eventually collect ammunition rather than scattering it into unreachable pressure.
Watch for: Shell-changing Hammers can alter the passive interaction. More Shells on screen is not automatically more of every bonus.
Medea
Stored Attacks explode with your Specials.
Create a short load-and-detonate pattern, then leave the target’s return swing. Its raw damage is attractive once that movement feels natural.
Watch for: The aggressive Special route can expose you. High damage does not turn every lunge into invulnerability.
Persephone
Sprouted, steerable Special and extra Boon levels.
Use a controlled route through the room and take a coherent damage package. The Boon-level benefit gives value without demanding one exact rare combination.
Watch for: Older Glory-based builds describe a previous version. Do not let their sequence replace the current Special instructions.
Hel
Frost Mane leads into the Valkyrie firing state.
Choose a safe line before entering continuous fire, then adapt to the alternate moveset when the state ends. The benefit is a different rhythm from Shell retrieval.
Watch for: The ordinary Shell-Hammer pool does not apply wholesale. Read the hidden aspect’s own eligible upgrades.
UNDERWORLD NOTE
Fix the awkward moment.
All my Shells are behind the boss
Stop firing new shots into the same unsafe line. Cast, move around the danger and retrieve from a new angle; change where you aim the next cycle.
Medea feels like a different weapon
It is a different loop. Load the Attack, use a deliberate Special to detonate, then reposition. A thrown-Skull build cannot be copied without changing its sequence.
My old Persephone guide says Glory
Current Persephone has Sprouted Special and bonus starting Boon levels. Treat Glory-era descriptions as outdated.
UNDERWORLD NOTE
Take one question into the next room.
In one early encounter, fire only part of your ammunition and deliberately recover it before shooting again. Then try an Omega Special through a safe lane. The useful skill is maintaining a route that you can repeat when the arena becomes busier.
Keep the same aspect while testing that one habit. Once it works, change one Boon choice or one movement decision and observe what improves.
THE SOURCE DESK
What this guide is built on.
Reviewed . Latest gameplay note found: Post-Launch Patch 2 · Hotfix 5, published . The newer September publisher post covers the documentary and concert.
Our routes, comparisons and first-clear recommendations are editorial synthesis from the references below. They are not a claimed Cobalt playthrough or a measured damage simulation.
- Supergiant Games · official Steam announcements ↗Post-Launch Patch 2 and Hotfix 5; checked 3 November 2026.
- Hades Wiki · Argent Skull ↗Moveset and aspect reference.
- Mobalytics · Skull starter analysis ↗Independent check of ranged Shell management and Hammer interactions.