
 THE COBALT UNDERWORLD NOTES
Cobalt Games/Hades II/Tier list
EDITORIAL / FIRST CLEARS & LOW FEAR
Hades II tier list.
Choose a plan
you can repeat.
All 24 aspects, ranked for learning a complete run. Setup burden and safe execution matter alongside damage potential.
Repeatable damage
Can the core plan work without one exact Hammer or rare Duo?
Manageable exposure
How much setup and close-range commitment does the plan ask for?
A readable learning loop
Can you identify the next action, its cost and a safe exit?
Original source-reviewed advice for first clears and low-Fear learning. Rankings are editorial, not measured win rates or a speedrun leaderboard. Aspect ranks, available progression, platform updates and personal execution can change the useful choice. This is not a high-Fear or fastest-clear ordering.
No aspect matches all three filters. Reset filters to see the full roster.
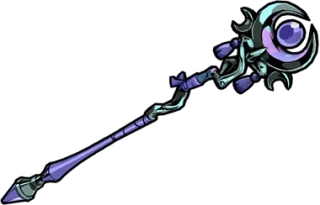 MelinoëWitch’s Staff+
Magick and Special Power. Keep a ranged Special as the dependable action, then use the rest of the kit to make room for it. This is our least complicated Staff starting point.
Watch for: Extra Magick is not regeneration; an Omega-heavy pivot still needs a sustainable economy.
Read this weapon’s build guideCirceWitch’s Staff+
Your familiar joins your Casts and forms a Psychic Leash. Place enemies across the line between you and your familiar. The familiar’s position becomes part of your combat setup rather than a decorative companion choice.
Watch for: Old Serenity-based Circe recipes describe a superseded moveset. Do not build around that old trigger.
Read this weapon’s build guideMomusWitch’s Staff+
Omega moves leave repeated pressure where they fire. Place an Omega where an enemy will remain, then use the other actions while it repeats. Stationary targets give you more value than a target already leaving the area.
Watch for: Casting the same move again changes the repeat setup. More button presses do not always mean more useful hits.
Read this weapon’s build guideAnubisWitch’s Staff · hidden+
Damage fields, pulling Specials and Lone Shades. Put the damage field on useful ground and bring enemies into it. Give yourself room to move while the field continues its work.
Watch for: This hidden moveset changes ordinary Staff habits and has its own Hammers; normal Staff recommendations are not universal.
Read this weapon’s build guide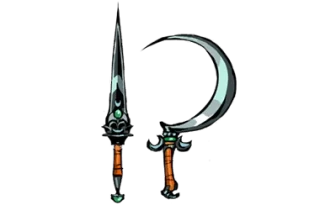 MelinoëSister Blades+
Extra Backstab damage. Use positioning as a reward: get behind a committed foe, take the clean hit and leave. Ranged pressure remains useful between openings.
Watch for: A backstab bonus is not permission to pursue the rear of every target through hazards.
Read this weapon’s build guidePanSister Blades+
Special knives seek enemies caught in your Casts. Make Cast placement the beginning of the damage sequence, then fund Special. Check that the target remains inside the relevant area before committing more Magick.
Watch for: A strong Special plan loses its identity when you neglect Cast or keep spending upgrades on unused Attacks.
Read this weapon’s build guide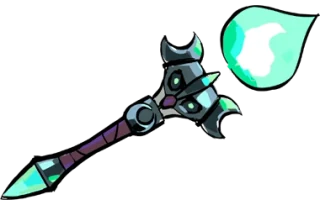 MorosUmbral Flames+
Attacks erupt when they meet your Specials. Refresh an orbit from a safe opening, then feed it Attacks. A stable Gain effect is a core part of the build rather than an optional finishing touch.
Watch for: Firing from outside the overlap or refreshing too late can make good Boons appear ineffective.
Read this weapon’s build guide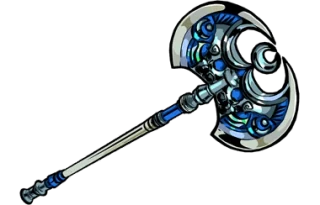 MelinoëMoonstone Axe+
Normal Attack Power and maximum Life. Use its extra durability to learn safe strike windows without turning every opening into a long channel. Put normal Attack support on the action that benefits.
Watch for: Attack and Omega Attack are distinct terms. Read modifiers closely before paying for a spin-focused plan.
Read this weapon’s build guideCharonMoonstone Axe+
Omega Special detonates your Cast. Build the pair: place the Cast, align the Special and maintain a recovery effect. The intended target area matters more than being beside every enemy.
Watch for: Old Lucid Gain instructions may tell you to stand in the Cast. That requirement changed at v1.0.
Read this weapon’s build guide PersephoneArgent Skull+
Sprouted, steerable Special and extra Boon levels. Use a controlled route through the room and take a coherent damage package. The Boon-level benefit gives value without demanding one exact rare combination.
Watch for: Older Glory-based builds describe a previous version. Do not let their sequence replace the current Special instructions.
Read this weapon’s build guide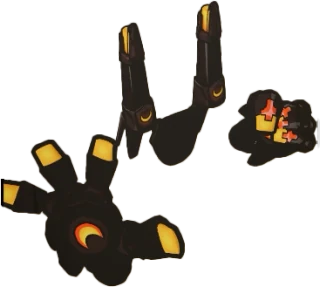 MelinoëBlack Coat+
Faster Attacks, movement and Sprint. Use the extra responsiveness to move between short offensive turns. It is our simplest entry to the Coat because it does not ask for another setup meter.
Watch for: Speed can hide poor positioning until a crowded room punishes it. Keep checking the angle behind your guard.
Read this weapon’s build guideSeleneBlack Coat+
Sky Fall applies Shine for Omega follow-up. Let the Hex start a planned damage window and spend Omega moves while its effect is useful. A sustainable Magick loop supports both halves of the setup.
Watch for: A normal-Attack-only plan does not make full use of Shine’s Omega vulnerability.
Read this weapon’s build guideNyxBlack Coat+
Boost creates Nightspawn and split pressure. Choose a deliberate Boost route through useful space, then exploit the extra strikes for a busy room. Keep a direct sequence for a single Guardian.
Watch for: Do not equate split projectile count with every projectile hitting one target.
Read this weapon’s build guideArtemisSister Blades+
A parry-and-Riposte rhythm around Omega Attack. Learn which incoming attack you are answering before building a run around the counter. The reward is strongest when your defensive timing is deliberate.
Watch for: Riposte has a recharge; it is not a permanent shield against every hit. Patch 2 changed its recovery timing.
Read this weapon’s build guideThe MorriganSister Blades · hidden+
A new moveset culminating in Blood Triad. Learn how its sequence creates the Triad opportunity, then use a Guardian’s recovery to finish it. Keep a shorter safe sequence for ordinary rooms.
Watch for: The payoff asks for setup and its Hammer pool differs; do not assume a normal-Blades recipe transfers unchanged.
Read this weapon’s build guideMelinoëUmbral Flames+
Critical chance for Attacks and Specials. Learn a steady normal-move pattern and improve the action you can keep on target. The aspect does not require the collision setup of Moros.
Watch for: Older descriptions that focus on longer orbit duration predate its rework.
Read this weapon’s build guideEosUmbral Flames+
Daybreaker repeats your Special actions. Send the Daybreaker toward a useful lane, then use Specials while its position can still reach targets. Judge the setup by landed damage rather than projectile count.
Watch for: Its movement is not completely under your control; a bad line can waste much of a window.
Read this weapon’s build guideSupayUmbral Flames · hidden+
Automatic fire and chargeable alternate shots. Use the automatic pressure to spend more attention on your route through the arena. Add a deliberate charged action only when you can read the next threat.
Watch for: Hidden-aspect Hammers and firing rules differ. Hotfix 5 includes a Supay/Dividing Blaze interaction fix.
Read this weapon’s build guideThanatosMoonstone Axe+
Faster normal Attacks and a clean-play Omega critical engine. Preserve your momentum by taking clean openings. When an enemy breaks your rhythm, rebuild control rather than immediately chasing the next critical hit.
Watch for: Normal Attack speed and Omega critical effects do different jobs; a normal-only setup does not use every part of the aspect.
Read this weapon’s build guideNergalMoonstone Axe · hidden+
A heavy hidden moveset with a Berserk healing window. Work toward the window with controlled hits, then use its recovery while still respecting incoming damage. Upgrading the aspect changes how forgiving the plan feels.
Watch for: Healing is conditional and the build has ramp-up. It is not a reason to deliberately trade into every boss attack.
Read this weapon’s build guideMelinoëArgent Skull+
A thrown-Shell economy with Attack Power tied to spent Shells. Practise safe recovery and make deliberate explosive hits. Aim where you can eventually collect ammunition rather than scattering it into unreachable pressure.
Watch for: Shell-changing Hammers can alter the passive interaction. More Shells on screen is not automatically more of every bonus.
Read this weapon’s build guideMedeaArgent Skull+
Stored Attacks explode with your Specials. Create a short load-and-detonate pattern, then leave the target’s return swing. Its raw damage is attractive once that movement feels natural.
Watch for: The aggressive Special route can expose you. High damage does not turn every lunge into invulnerability.
Read this weapon’s build guideHelArgent Skull · hidden+
Frost Mane leads into the Valkyrie firing state. Choose a safe line before entering continuous fire, then adapt to the alternate moveset when the state ends. The benefit is a different rhythm from Shell retrieval.
Watch for: The ordinary Shell-Hammer pool does not apply wholesale. Read the hidden aspect’s own eligible upgrades.
Read this weapon’s build guideShivaBlack Coat · hidden+
Purifying Grace absorbs your Special blasts to become Destructive. Set up the absorption in safe space, then spend the resulting strength on a deliberate offensive window. Learn the alternate sequence before optimising it.
Watch for: Setup and absorption ask for attention. Starting the sequence under uncontrolled pressure can waste both your safety and the payoff.
Read this weapon’s build guideNo aspect is assigned here in this first-clear review. We do not force placements to fill every row.
No aspect is assigned here in this first-clear review. We do not force placements to fill every row.
No aspect is assigned here in this first-clear review. We do not force placements to fill every row.
No aspect is assigned here in this first-clear review. We do not force placements to fill every row.
Why a famous speedrun aspect may be lower here
Medea’s aggressive load-and-detonate rhythm, for example, can be extremely productive in experienced hands. Our learning-run question also counts how easily that route exposes a player who has not yet learned the enemy’s recovery windows. A lower placement is a learning-demand judgement, not a claim that the aspect cannot clear difficult content.
No placement was calculated from a Cobalt win-rate sample. These are original editorial decisions from the documented movesets. If you already know an alternate aspect well, its familiarity can matter more than a row on this board.
Compare mechanics without a rankingTHE SOURCE DESK
What this guide is built on.
Reviewed . Latest gameplay note found: Post-Launch Patch 2 · Hotfix 5, published . The newer September publisher post covers the documentary and concert.
Our routes, comparisons and first-clear recommendations are editorial synthesis from the references below. They are not a claimed Cobalt playthrough or a measured damage simulation.
- Supergiant Games · official Steam announcements ↗Post-Launch Patch 2 and Hotfix 5; checked 3 November 2026.
- Hades Wiki · Nocturnal Arms ↗Weapon identities and the difference between normal and Omega moves.
- Lee Reamsnyder · independent build analysis ↗Independent cross-check of post-launch moveset distinctions; our advice and rankings are original.