Name the job
Choose a useful distance and firing rhythm before chasing a larger hit.

Cobalt Games/VOID/BREAKER/Field guide
01 / ARMAMENT
A promising module is only useful when its trigger happens in your actual fight. Build a readable chain from action to payoff, preserve a working weapon and ask one question before changing the next part.
 EARLY ACCESS SOURCE REVIEW1.0 scheduled / 04 NOV 2026
THE DECISION IN ONE LINE
Choose a useful distance and firing rhythm before chasing a larger hit.
Separate applying ice, receiving a critical hit and a chance to add Laceration.
The live modification screen decides slots and connections; the written pairing is a hypothesis.
Change the question when the gun works but reaching the target still fails.
Open the editable experimentFIELD NOTE 01
Start with the fight that the gun must solve. A controlled shot at one exposed target is a different job from maintaining pressure while crossing a room. Describe the distance, target access and firing rhythm you need before picking an attractive modifier. Our advice is to keep one familiar setup as the comparison point. A new effect can be entertaining without improving the encounter that repeatedly stops your run.
The Ascension update gave weapons tailored fire-mode modifiers. A fire-mode name alone therefore does not establish identical behavior across every gun. Read the actual card on the weapon you are modifying.
FIELD NOTE 02
High Caliber changes firing rhythm in exchange for damage. Critical Wounds depends on critical hits before it can apply Laceration. These are different questions: one concerns the gun’s ordinary cadence; the other concerns a conditional event. Write down what must happen first. If your plan needs an inflicted state, a critical hit or a particular movement action, find the source of that trigger before expecting its reward.
We would make the trigger visible during an ordinary encounter before adding another dependent effect. One unusually strong hit is a poor explanation of what the loadout reliably does.
FIELD NOTE 03
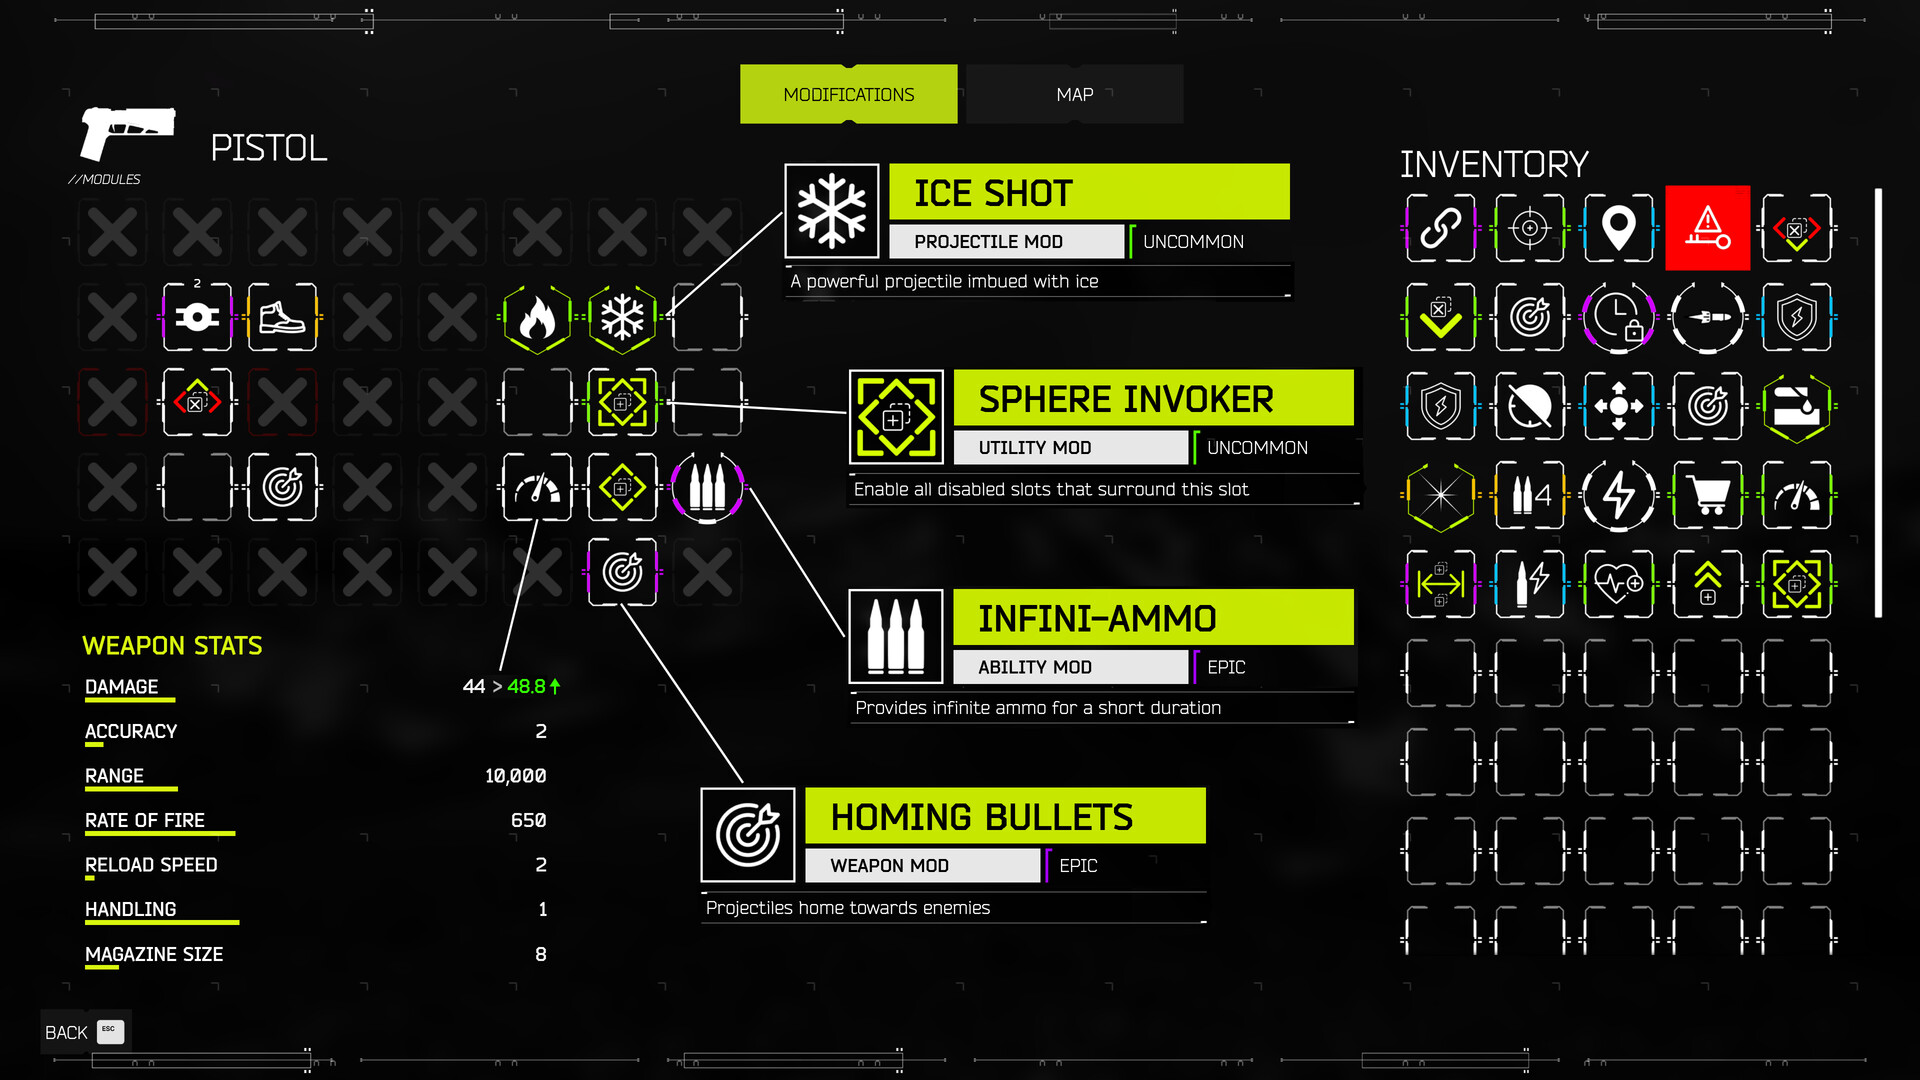
The modification screen is part of the build, not a decorative list of bonuses. Inspect the module category, occupied space and connections shown by your current game. A written pairing idea is not proof that two effects can be installed together on the weapon in front of you. Preserve the distinction between a useful concept and a loadout that the interface actually accepts.
Our weapon lab compares documented descriptions. It deliberately leaves slot legality, stacking and per-weapon compatibility to the client instead of inventing a universal module grid.
FIELD NOTE 04
Older screenshots and advice can preserve a convincing interface long after its rule has changed. The developer’s 0.12.6 correction explicitly removed remnants of the experimental Overload system and explained that the supposed additional damage had not occurred. Do not add a fictional Overload multiplier to your plan or treat an old visual as a current mechanic.
The same habit applies to module terminology. Later notes renamed Body mods to Passive mods. Compare an older guide’s actual effect and publication date rather than assuming a label mismatch describes another bonus.
FIELD NOTE 05
Choose a repeatable room situation and record the starting weapon, selected module, other relevant effects and intended result. Then alter one layer. If you simultaneously change firing mode, movement habits and several conditions, success does not tell you which part helped. Failure becomes equally difficult to interpret. A useful comparison can be as simple as whether follow-up shots remain controllable during the same approach.
Keep the conclusion proportional to the evidence. An effect working once does not establish a general best build, an optimal damage order or compatibility with every projectile.
FIELD NOTE 06
After the comparison, decide what remains unresolved. Perhaps the new cadence is comfortable but reaching the target is still costly. That is a movement question, not a reason to pile on more damage. Perhaps a conditional payoff rarely appears; investigate its trigger rather than dismissing the module’s description. Separating these questions makes the next attempt useful even when the run ends early.
Use the weapon experiment lab to prepare a short checklist. It does not read your inventory or simulate the result; it helps you choose what to observe.
BEFORE THE NEXT ATTEMPT
QUICK ANSWERS
No. Reviewed on 2 November, this guide uses released Early Access notes while 1.0 is scheduled for 4 November. The recommendations are original experiment plans, not tested 1.0 allocations or numerical rankings.
No. A logical relationship between descriptions is a question to check, not proof of slot legality, event order or duplicate stacking. Use your current modification screen and observe the actual effect before committing the whole weapon to it.
REVIEWED 02 NOV 2026
Released zone five, sniper, weapon-specific fire modes and movement/boss-debris changes. Not a full 1.0 content inventory.
Reviewed 2 November 2026Released module effects, Laceration, Recycler unlock and accessibility changes; no numerical 1.0 balance is inferred.
Reviewed 2 November 2026The experimental Overload system did not produce additional damage; remaining UI references were removed.
Reviewed 2 November 2026