Check protection
A Shielded target needs its stated melee answer; a larger ordinary shot does not remove a prerequisite.

Cobalt Games/VOID/BREAKER/Field guide
06 / THREAT READING
Target priority is a decision about what prevents your plan from working. Read protection, disruptive effects and reactions to damage before choosing the easiest health bar to chase.
 EARLY ACCESS SOURCE REVIEW1.0 scheduled / 04 NOV 2026
THE DECISION IN ONE LINE
A Shielded target needs its stated melee answer; a larger ordinary shot does not remove a prerequisite.
Voltaic EMPs can disable parts of the kit. Keep a simpler fallback route.
An on-damage or on-death response changes the space you are about to use.
Reconsider the target when chasing it removes your only usable route.
FIELD NOTE 01
Begin with the action you need next. Perhaps you need a lane to reload, an approach for melee or room to prepare a tether throw. Identify which enemy prevents that action and which attack you can already read. This is more useful than a universal list claiming the same machine must always die first. The room, your loadout and your current route change the answer.
Our practical order is to notice a rule that blocks damage, a threat that disrupts the kit, and then the firing lanes that make your next movement costly. That is a reading method, not a measured enemy tier list.
FIELD NOTE 02
The Hard Reset notes describe Shielded enemies as requiring a melee strike before they can receive damage. If that protection is the problem, firing more enthusiastically is not the same as solving it. Read the current target state and prepare the approach with the rest of the room in view. A damage module does not remove a prerequisite simply because the gun’s ordinary hits are stronger.
Do not commit blindly through several other firing lanes to satisfy the condition. Change the angle or deal with an accessible threat first if the approach has no sensible exit.
FIELD NOTE 03
Ascension introduced the Voltaic variant and described EMPs that disable parts of the player’s kit. That gives you a reason to watch the state of the tools your current plan relies on. If the next action stops being available, repeating the same input can waste the moment when you should be choosing a simpler route.
Our advice is to keep a modest fallback: a landing you can reach and an engagement you can read without depending on every planned effect. The source does not establish an EMP radius, exact duration or universal counter, so we do not publish those as facts.
FIELD NOTE 04
Helix was introduced with an on-death rush; Trixiom was introduced with projectiles released when damaged. These are reasons to think beyond the health bar. Before finishing one target or beginning sustained fire on another, inspect the space into which its reaction would arrive. Clearing an enemy can change the next movement problem rather than simply remove one object from the room.
We would practise these reads with a familiar gun and one predictable line. The point is to recognize the reaction without confusing it with several new projectile or movement modifiers.
FIELD NOTE 05
Ascension changed boss encounters so attacks release tetherable debris, reducing the need to focus on old dedicated pillars. Look for the opportunity as part of reading the attack, rather than turn away from the fight to repeat an obsolete collection routine. The useful object is only part of the decision: you still need a throw that fits the current target access and a route that remains readable afterward.
Later notes also stopped mini-boss summons from serving as an endlessly farmable source of credits. Do not build your economy plan around that old behavior.
FIELD NOTE 06
Record the rule, the observed cue and the response you want to try next. A useful note says that protection needed a melee answer, that a disrupted tool invalidated the chosen approach, or that an enemy’s reaction occupied the planned landing. It should not turn one room layout into a guaranteed future spawn or a fixed timer.
For movement questions, use the combat and destruction briefing. For a close approach, read the melee field guide. Treat the new information as a better next question, not proof that the whole run is solved.
BEFORE THE NEXT ATTEMPT
QUICK ANSWERS
The reviewed sources do not establish one. Protection, kit disruption, firing lanes and the route to the next action can change the sensible order. This guide gives a decision method and dated enemy examples rather than invented kill-priority statistics.
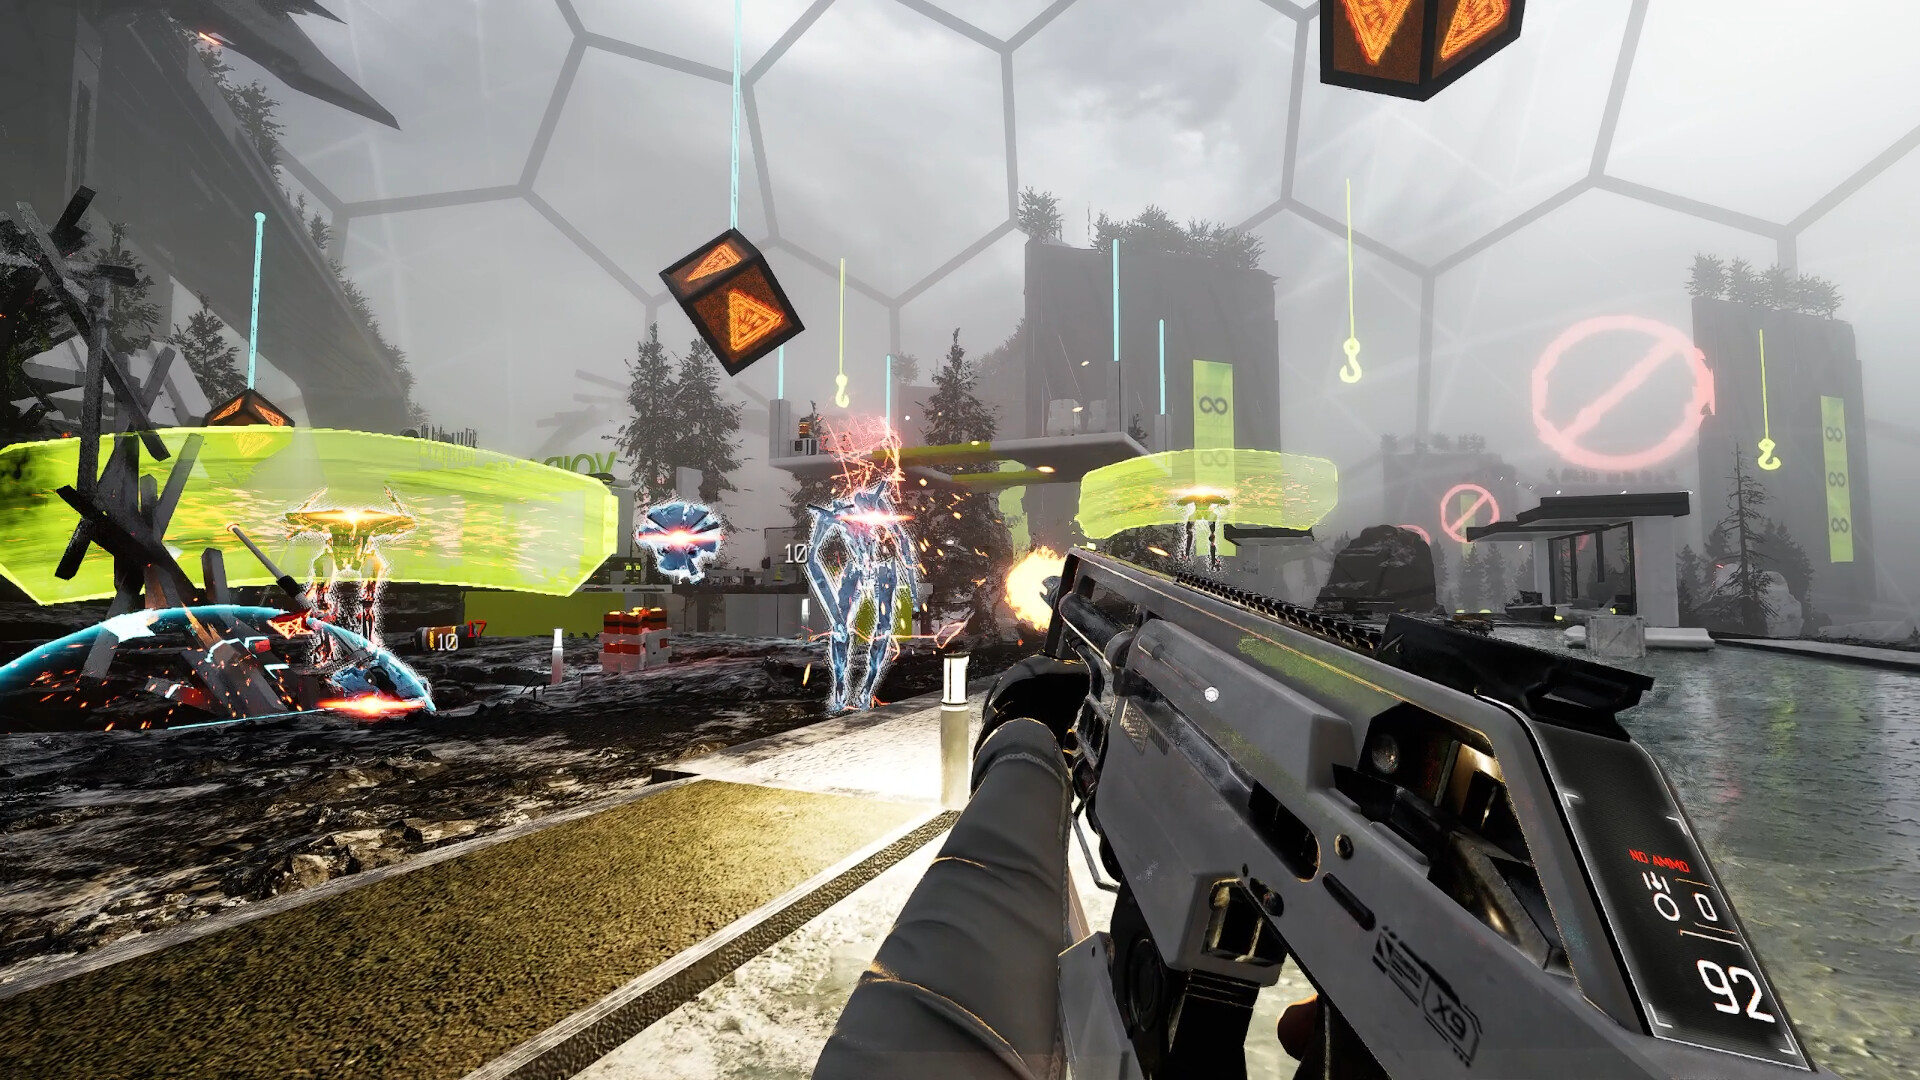
No. They are authentic publisher gallery captures used to show combat space, with an unspecified capture build. We do not relabel an unidentified figure as a named variant or use its appearance to invent a mechanic.
REVIEWED 02 NOV 2026
Released Early Access wallrunning, shielded enemies, progression and schematic-readability changes. Later updates can supersede details.
Reviewed 2 November 2026Released zone five, sniper, weapon-specific fire modes and movement/boss-debris changes. Not a full 1.0 content inventory.
Reviewed 2 November 2026Released module effects, Laceration, Recycler unlock and accessibility changes; no numerical 1.0 balance is inferred.
Reviewed 2 November 2026