Read the landing
Choose the next firing lane and a fallback before beginning the movement.

Cobalt Games/VOID/BREAKER/Field guide
02 / FIELDCRAFT
Speed becomes useful when it gives you a better firing lane or a safer exit. Read the room, connect movement to a task and treat destruction as a change to the encounter rather than a spectacle.
 EARLY ACCESS SOURCE REVIEW1.0 scheduled / 04 NOV 2026
THE DECISION IN ONE LINE
Choose the next firing lane and a fallback before beginning the movement.
Use the current dash tutorial; do not import an invulnerability duration from another game.
A broken wall changes protection as well as access. Keep the exit in the same plan.
Shorten the drill when you cannot explain which threat stopped the crossing.
Open the editable experimentFIELD NOTE 01
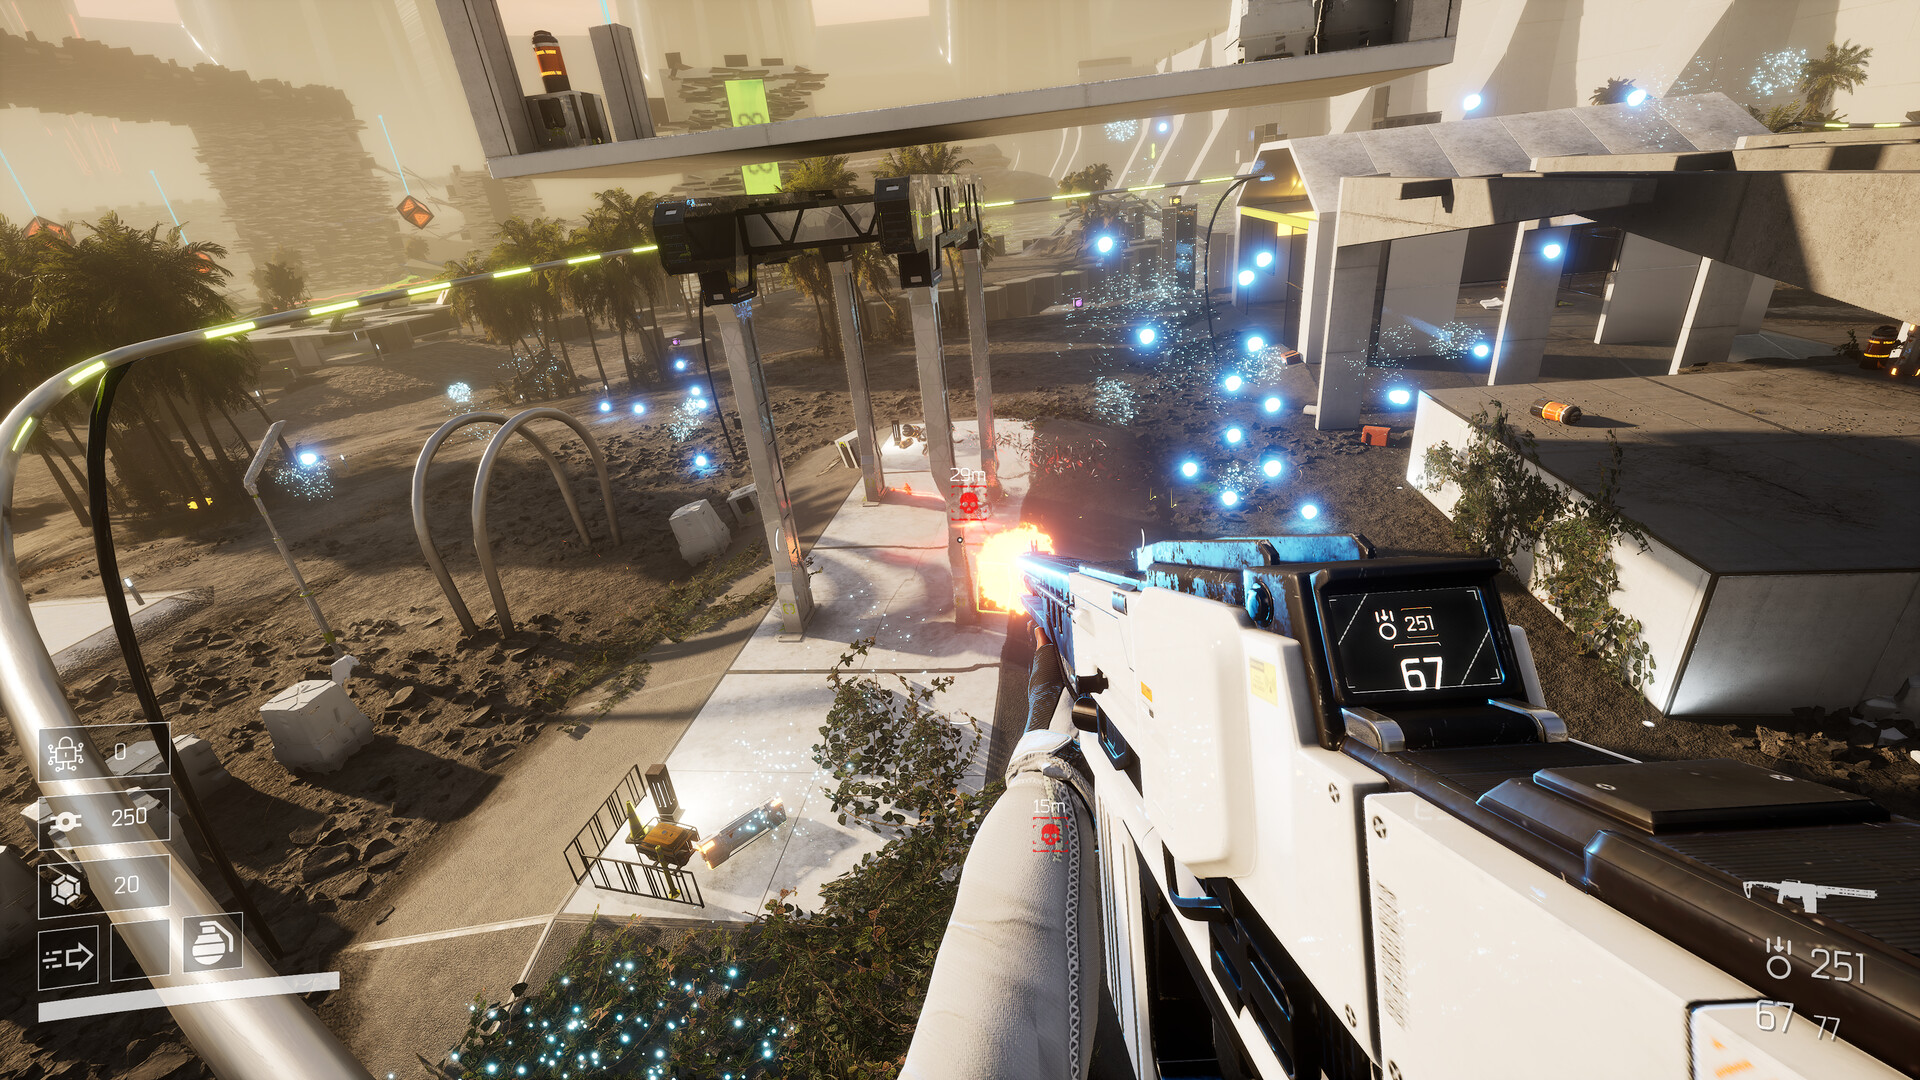
A fast route needs somewhere useful to end. Before crossing an exposed space, identify a landing with a readable target, a possible next movement and enough room to reassess. Moving simply because the game permits it can exchange one uncertain angle for several others. Our starting advice is to practice a short, understandable route rather than attempt the most elaborate line available.
Keep your target access in the same plan. A route that avoids a projectile but leaves the gun unable to engage the threat has solved only half the encounter.
FIELD NOTE 02
Hard Reset introduced wallrunning, and later Ascension notes improved its detection and responsiveness. Use it as an option for traversal and target access rather than assume every wall is a continuous safe firing platform. Inspect where the route begins, how long the useful angle lasts and where the exit puts you. A readable landing is often worth more than extending the movement for its own sake.
Skirmisher rewards weapon use during wallrunning. That condition makes the useful firing window important; it does not turn time spent airborne somewhere else into the same bonus.
FIELD NOTE 03
The Ascension tutorial explicitly demonstrates dashing through a projectile wall to teach its invulnerability capability. That supports learning a timed crossing; it does not supply a universal duration or promise safety from every hazard. Start with an attack whose approach you can read, then compare the visual cue with the moment you commit. Avoid importing a timing number from another shooter.
If a route repeatedly fails, reduce the number of simultaneous decisions. Watch the threat and the exit before combining the dash with another unfamiliar input sequence.
FIELD NOTE 04
The developer revised the stagger tutorial to make the recovery loop clearer and added a demonstration of the grenade’s smaller stagger contribution. Pay attention to what the current tutorial asks you to do and what the enemy state actually permits. A pressured target and a safe approach are not automatically the same thing, especially when other machines still have a line on you.
Our advice is to identify the next threat before using an opening. Treat recovery as part of controlling the encounter rather than postpone all health decisions until the room has already become unmanageable.
FIELD NOTE 05
Environmental destruction changes the route and the available cover. Before throwing or firing into a structure, consider what becomes exposed afterward. An opening can shorten your approach while also removing a useful barrier. Judge the changed geometry, not simply the size of the explosion. Keep a route that still works if the first attack does not finish the target.
Ascension changed boss encounters so boss attacks release tetherable debris. Watch the fight for usable objects instead of following an older plan that fixates on dedicated pillars.
FIELD NOTE 06
Choose one skill to observe during a learning attempt: a wallrun exit, a dash crossing or a deliberate tether throw. Keep the rest of the plan familiar enough that you can recognize what happened. If every attempt changes the weapon, module chain and route, the final result will explain very little. A short failure with a clear observation can be more useful than a chaotic success.
When a module changes your input sequence, revisit that drill. The weapon lab lists trigger checks for movement and tether ideas; the game remains the authority on timing and legal equipment.
BEFORE THE NEXT ATTEMPT
QUICK ANSWERS
The reviewed developer note confirms the tutorial demonstrates projectile crossing, but it does not establish a timing number here. We do not substitute a guessed duration or assume the same protection against every hazard.
Movement has a job: reaching a useful lane, avoiding a read attack or leaving danger. A deliberate pause to read the next route can be more useful than extending an unfamiliar sequence without a clear landing. This is tactical advice, not a measured speed strategy.
REVIEWED 02 NOV 2026
Released Early Access wallrunning, shielded enemies, progression and schematic-readability changes. Later updates can supersede details.
Reviewed 2 November 2026Released zone five, sniper, weapon-specific fire modes and movement/boss-debris changes. Not a full 1.0 content inventory.
Reviewed 2 November 2026Core game systems, Early Access status and announced 4 November 2026 departure from Early Access. The old three-biome paragraph is superseded by later updates.
Reviewed 2 November 2026