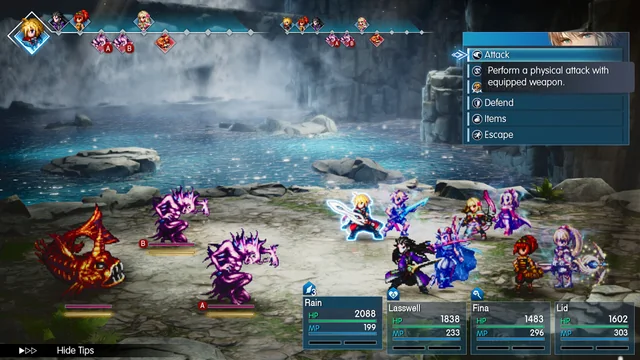

Start with the objective on your screen
The campaign has eight numbered chapters. Before opening a detailed guide, record the chapter, current objective and last town visited. Search the exact objective when you need help: the wiki’s chapter index is organized around those prompts. This avoids reading several future boss names just to learn which exit you need now.
Chapter 1: build a useful exploration habit
The opening centers on Grandshelt and its surrounding destinations. Make a compact loop whenever the story brings you back to a settlement: check the active objective, inspect reachable side paths, review equipment and note unfinished optional tasks. Continue when you have a clear reason to leave rather than trying to prove every corner complete immediately.
Square Enix confirms that the demo covers the opening through Chapter 1 and supports save transfer. Returning demo players should check their current objective and inventory before restarting tasks that may already be complete.
Chapters 2–4: keep a return list
Use each new region as a fresh planning unit. Finish the immediate story requirement, inspect the routes now accessible, and record anything that is visibly blocked. A note such as “unopened route near the last town” is more useful than another aimless circuit of an area you cannot yet finish.
At a chapter transition, choose one optional goal before departing: a pending quest, a nearby collectible sweep or an equipment check. This is a recommended rhythm, not a timed speedrun route.
When airship travel opens, sort the backlog
Broader travel makes the return list more valuable. Group unfinished tasks by region and purpose before flying between distant destinations. Resolve a nearby quest and pickup together when convenient; leave a challenge that clearly needs a stronger party as a named future stop.
Do not turn newly available freedom into a demand to defeat every optional enemy immediately. The official launch overview identifies optional bosses, the Colosseum and the Chamber of Arms as substantial side content.
Chapters 5–7: finish small loops before large commitments
Keep the same regional approach as more systems and personal quests accumulate. Check the quest log after a major story event, claim rewards you have already earned and write down the exact reason for any return visit. If you care about optional conversations, read available chats while the story context is current: RPG Site notes that some dialogue has limited availability.
Maintain a separate manual save before a major departure. That preserves a convenient recovery point without forcing you to follow a detailed completionist script throughout the campaign.
Finale: make a deliberate stopping point
Reveal the final-area checkpoint name
Game8 identifies the portal beside the save point in Crystal Tower’s Upper Reach as the late-story point of no return. Save separately before crossing it, then decide whether to finish pending side work or continue to the ending.
A completion checklist and a story walkthrough serve different goals. Review unfinished quests and supplies here; read a boss solution only when you want that information. Keep the pre-finale save even if you intend to use the reported post-story cleanup.
TAKE THIS INTO YOUR NEXT SESSION
Your checklist.
Tick items as you go. This checklist stays in the current page and resets when you reload.
QUICK ANSWERS
Before your next session.
Is this a complete 100% walkthrough? +
It is an original route-planning guide. The linked specialist walkthroughs provide precise locations when you want them; this page avoids reproducing their route or revealing every event.
Must I finish every optional area before continuing? +
No universal level or completion order is prescribed here. Record unfinished work, continue when ready and check a specific availability warning before assuming an optional event will wait.
Can I continue from the demo instead of starting again? +
Square Enix confirms that the demo reaches the end of Chapter 1 and supports carrying progress into the full game. Check your transferred objective and inventory before repeating tasks.
SHOW THE WORK
Sources & review.
Reviewed 30 October 2026. Mechanics and progression notes were checked against the sources below. Our preparation order, checklists and recommendations are Cobalt’s editorial advice. Later patches or unresolved source disagreements may change a route.
- Square Enix — official demo scope and save transfer ↗
- Square Enix — launch overview and optional content ↗
- FF Resonance Wiki — chapter and objective index ↗
- RPG Site — campaign walkthrough and dialogue caveat ↗
- Game8 — eight-chapter walkthrough and final checkpoint ↗
- Game8 — precise final portal location ↗