
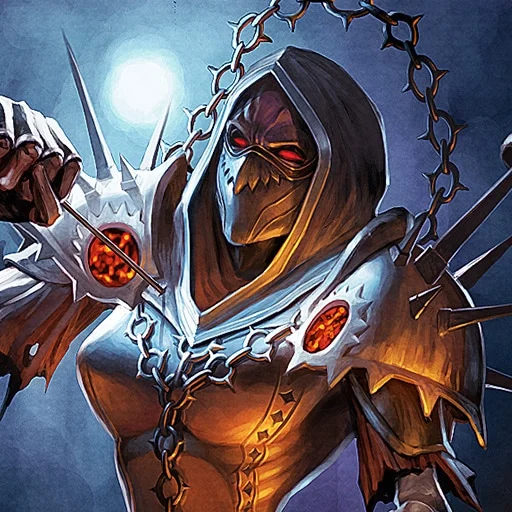
THE COBALT TAKE
Our take: Affliction and a demon-focused route are useful starting directions, but resource control matters more than copying an aggressive multi-target demonstration.
Reviewed 30 October 2026. Forever is in its pre-launch edition. Later-level advice is identified as planning where beta coverage is limited; check the current client before committing materials or a long journey.
BUILD GOOD HABITS EARLY
Your Warlock milestones
Make the opening reliable
Use the spells and demon options you actually have, and obtain a useful wand when practical. A damage-over-time effect needs time to contribute; do not add an expensive setup merely because the button has become available.
Train both sides of the partnership
Check your class training and the demon’s ability upgrades separately. Practise attack, follow and passive commands. A pet standing in the wrong place can create a more dangerous pull than a slightly weak damage item.
Expand only while resources permit
Learn whether your chosen demon, control and healing tools can cover an extra enemy. Add complexity gradually. Watch the path of feared enemies and retain enough health to survive an unexpected caster rather than converting every spare point into mana.
Match DoTs to the real fight
Selected deeper talents can change recovery and damage options. They do not make every dungeon enemy live long enough for a full setup. Beyond beta-tested content, re-evaluate target durability, threat and danger before adopting a projected rotation unchanged.
Choose an active-demon or sacrifice plan
Post-beta planning: some routes keep a demon, while others intentionally spend into sacrifice interactions. Read the actual selected package and prepare its resources. A finished Affliction, Demonology or Destruction card is a role reference rather than a universal leveling mandate.
Life Tap is a decision about danger
Life Tap connects your health and mana bars; it does not make either unlimited. Before using it, ask what can hit you next and how you will recover. In a group, make the exchange during a sensible window rather than assuming the healer must immediately spend resources to refill you.
Use a wand or the appropriate filler when another long-duration effect will not repay its cost. Keep a Healthstone ready when available and remember that eating and drinking can solve two depleted bars together. A slightly slower clean pull is often preferable to arriving at the next one with no margin.
Control the route as well as the target
Demon selection changes the balance between damage, safety and utility. Learn its usable abilities and maintain the relevant training instead of assuming the highest-level summon solves every situation. Keep the pet away from patrol routes and recall it before shortcuts that may cause awkward pathing.
Choose dungeon trips around ready quests, meaningful rewards or a team that values your utility. Fear can move danger into a fresh pack; heavy area damage can create a threat and survival problem. Consult the Affliction, Demonology or Destruction guide for the actual endpoint you intend to learn, without calling its leveling path proven optimal.
Protect the next attempt
Tailoring with Enchanting fits a cloth-and-crafting journey if you enjoy using materials along the way. Herbalism with Alchemy is a practical alternative for self-supplied consumables. A gathering-first plan can preserve money for spell training and demon upgrades; choose deliberately instead of funding every recipe.
Keep useful Soul Shards and enough free bag slots for quest progress. First Aid can restore health in a safe pause without consuming your mana, while water and food remain useful. Organize supplies before a remote circuit and inspect durability and pet commands before committing to a cave or elite objective.
READY FOR THE NEXT SESSION
Your preparation checklist
0 of 4 ready
BEFORE YOU SET OUT
Quick questions
Should I always pull several enemies because I have DoTs?+
No. Your current demon, recovery, control and available space decide what is manageable. A demonstration with better gear is not a universal pull size.
Does every route keep an active pet?+
No. Sacrifice-oriented choices change the plan. Follow the actual selected talents rather than mixing active-demon and sacrifice assumptions.
THE RESEARCH DESK
Sources behind the route
Original Cobalt Games writing and editorial recommendations. These links show the evidence, version and limits behind the guide.
Updated 21 October: DoT/drain economy, demon training, wands and recovery; explicit post-30 zone/item uncertainty despite a projected deeper talent route.
Reviewed 2026-10-30 · Open reference ↗Crix, updated 30 October: compares Affliction and Demonology, resource use, demon decisions, utility and supplies. Aggressive pull examples are not treated as a guaranteed beginner standard.
Reviewed 2026-10-30 · Open reference ↗Current talent names, rows, ranks and prerequisites cross-checked against client 1.60.1.70532. Tree data does not establish trainer levels, quest availability or measured leveling speed.
Reviewed 2026-10-30 · Open reference ↗